
In this tutorial, we will show you how to upgrade or downgrade your Hosting Plan in your Account Management Panel (AMP). If you’ve outgrown or underutilized your current hosting plan, you can easily sign-in and take advantage of the AMP to upgrade or downgrade your plan to match your current hosting needs. We will also cover changing your plan term (payment cycle), for example from 1 year to 2 years. Then we’ll show you how to set up Billing reminders, so you can set custom reminders for upcoming payments.
If you’re interested in learning more about the hosting plans, check out the Differences between Shared, VPS, and Dedicated Hosting.
- Upgrade / Downgrade a Hosting Plan
- Change the Term of your Hosting Subscription
- Set up a Billing Reminder
Upgrade / Downgrade a Hosting Plan
Using the Change Plan option in AMP will allow you to do just that! Using the steps below I’ll show you how to accomplish either an account upgrade or downgrade.
So if you need to upgrade to a VPS server hosting or dedicated server, or change the limits of your business hosting plan, you’ll have the knowledge to accomplish this at any time.
- Login to AMP.
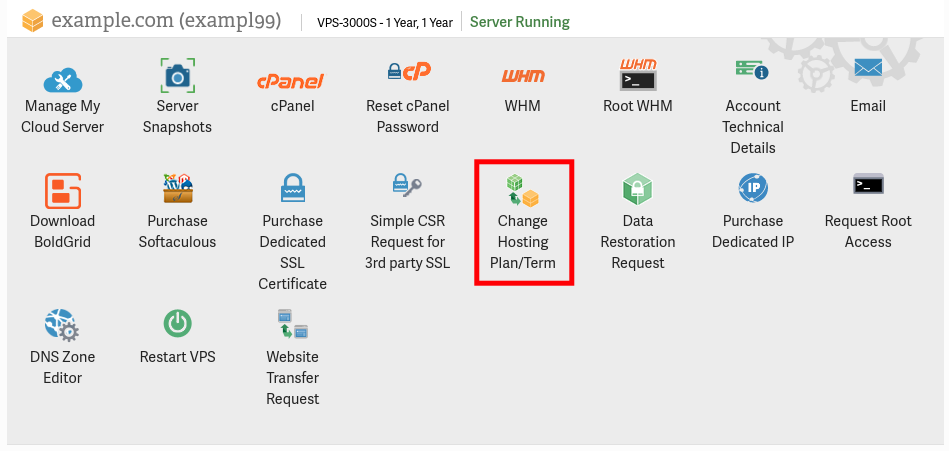
- Find the hosting plan you want to modify, then click the Change Hosting Plan button.
- You will then see a list of the available options. The prices will be pro-rated to take into account what you have already paid. Select the term (such as 1 year) you want, then click the Checkout button.
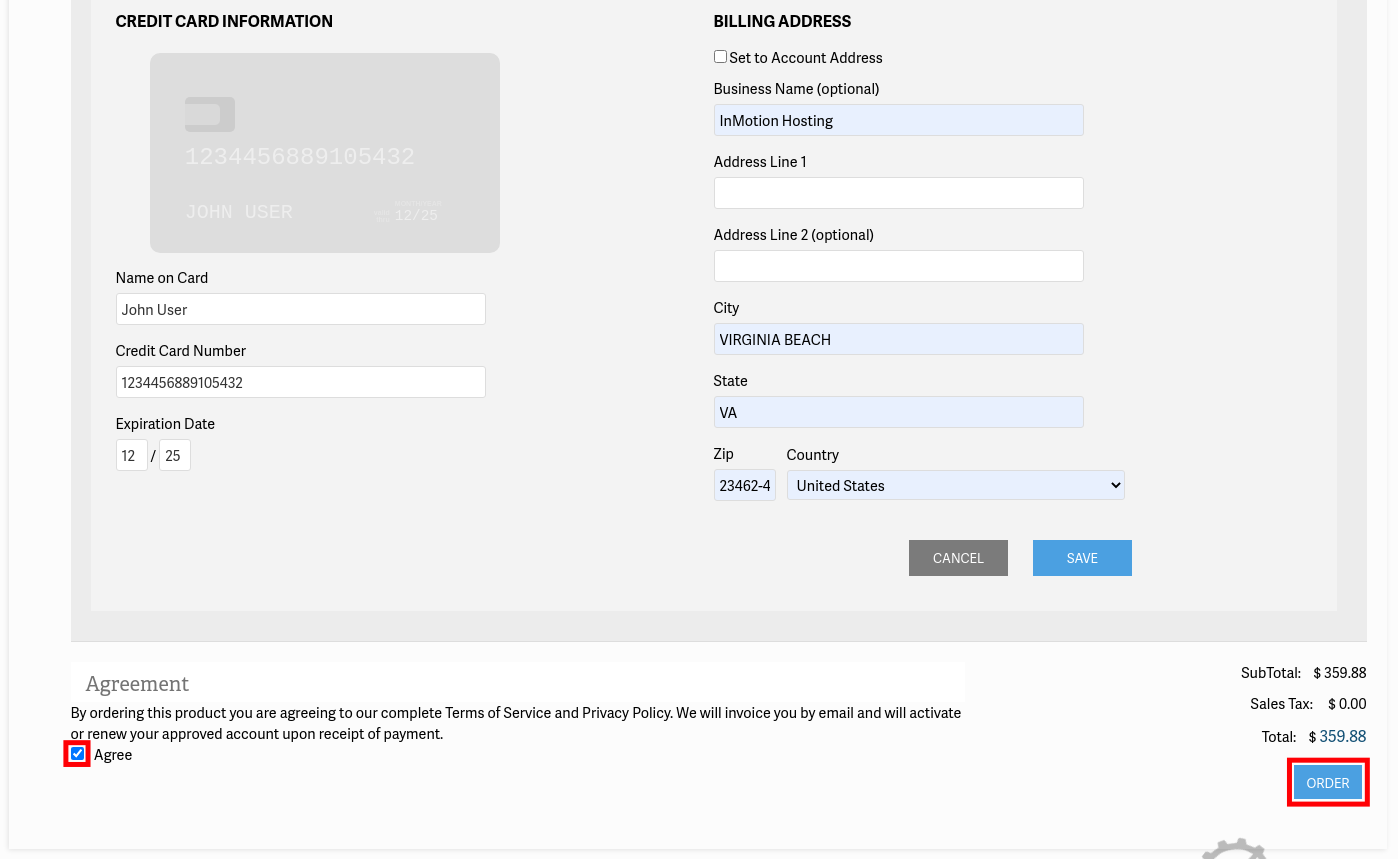
- Select your payment method such as PayPal or Credit Card.
- Agree to the Terms of Service and Privacy Policy by checking the box.
- Click the Order button.
The time frame for Upgrading/Downgrading will differ, depending on your request, but you will receive an email upon completion.
How to Change the Term of Your Hosting Subscription
- Login to AMP.
- In order to change the term of an existing plan, then you will need to first go to Billing.
- Select My Subscriptions.
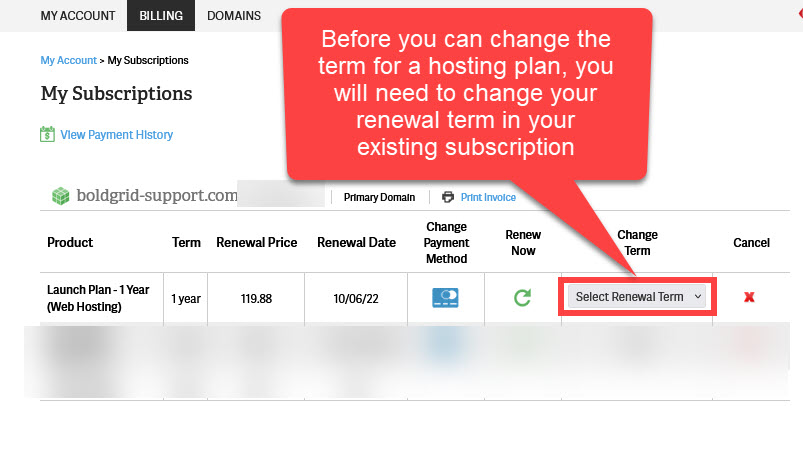
- Review the details of the hosting subscription you wish to change. Click on the drop-down labeled Select Renewal Term under the column labeled Change Term.
- Payment will not be processed unless you select pay now. Note that if there are any issues with payment, then you should contact our Billing team for immediate assistance.
How to Set up a Billing Reminder in AMP
We will email you a reminder when your product(s) are up for renewal. But, you can set a billing reminder for your account renewal in your AMP as well. Follow along to learn how to set up a billing reminder for your account renewal in your AMP.
- Login to AMP.
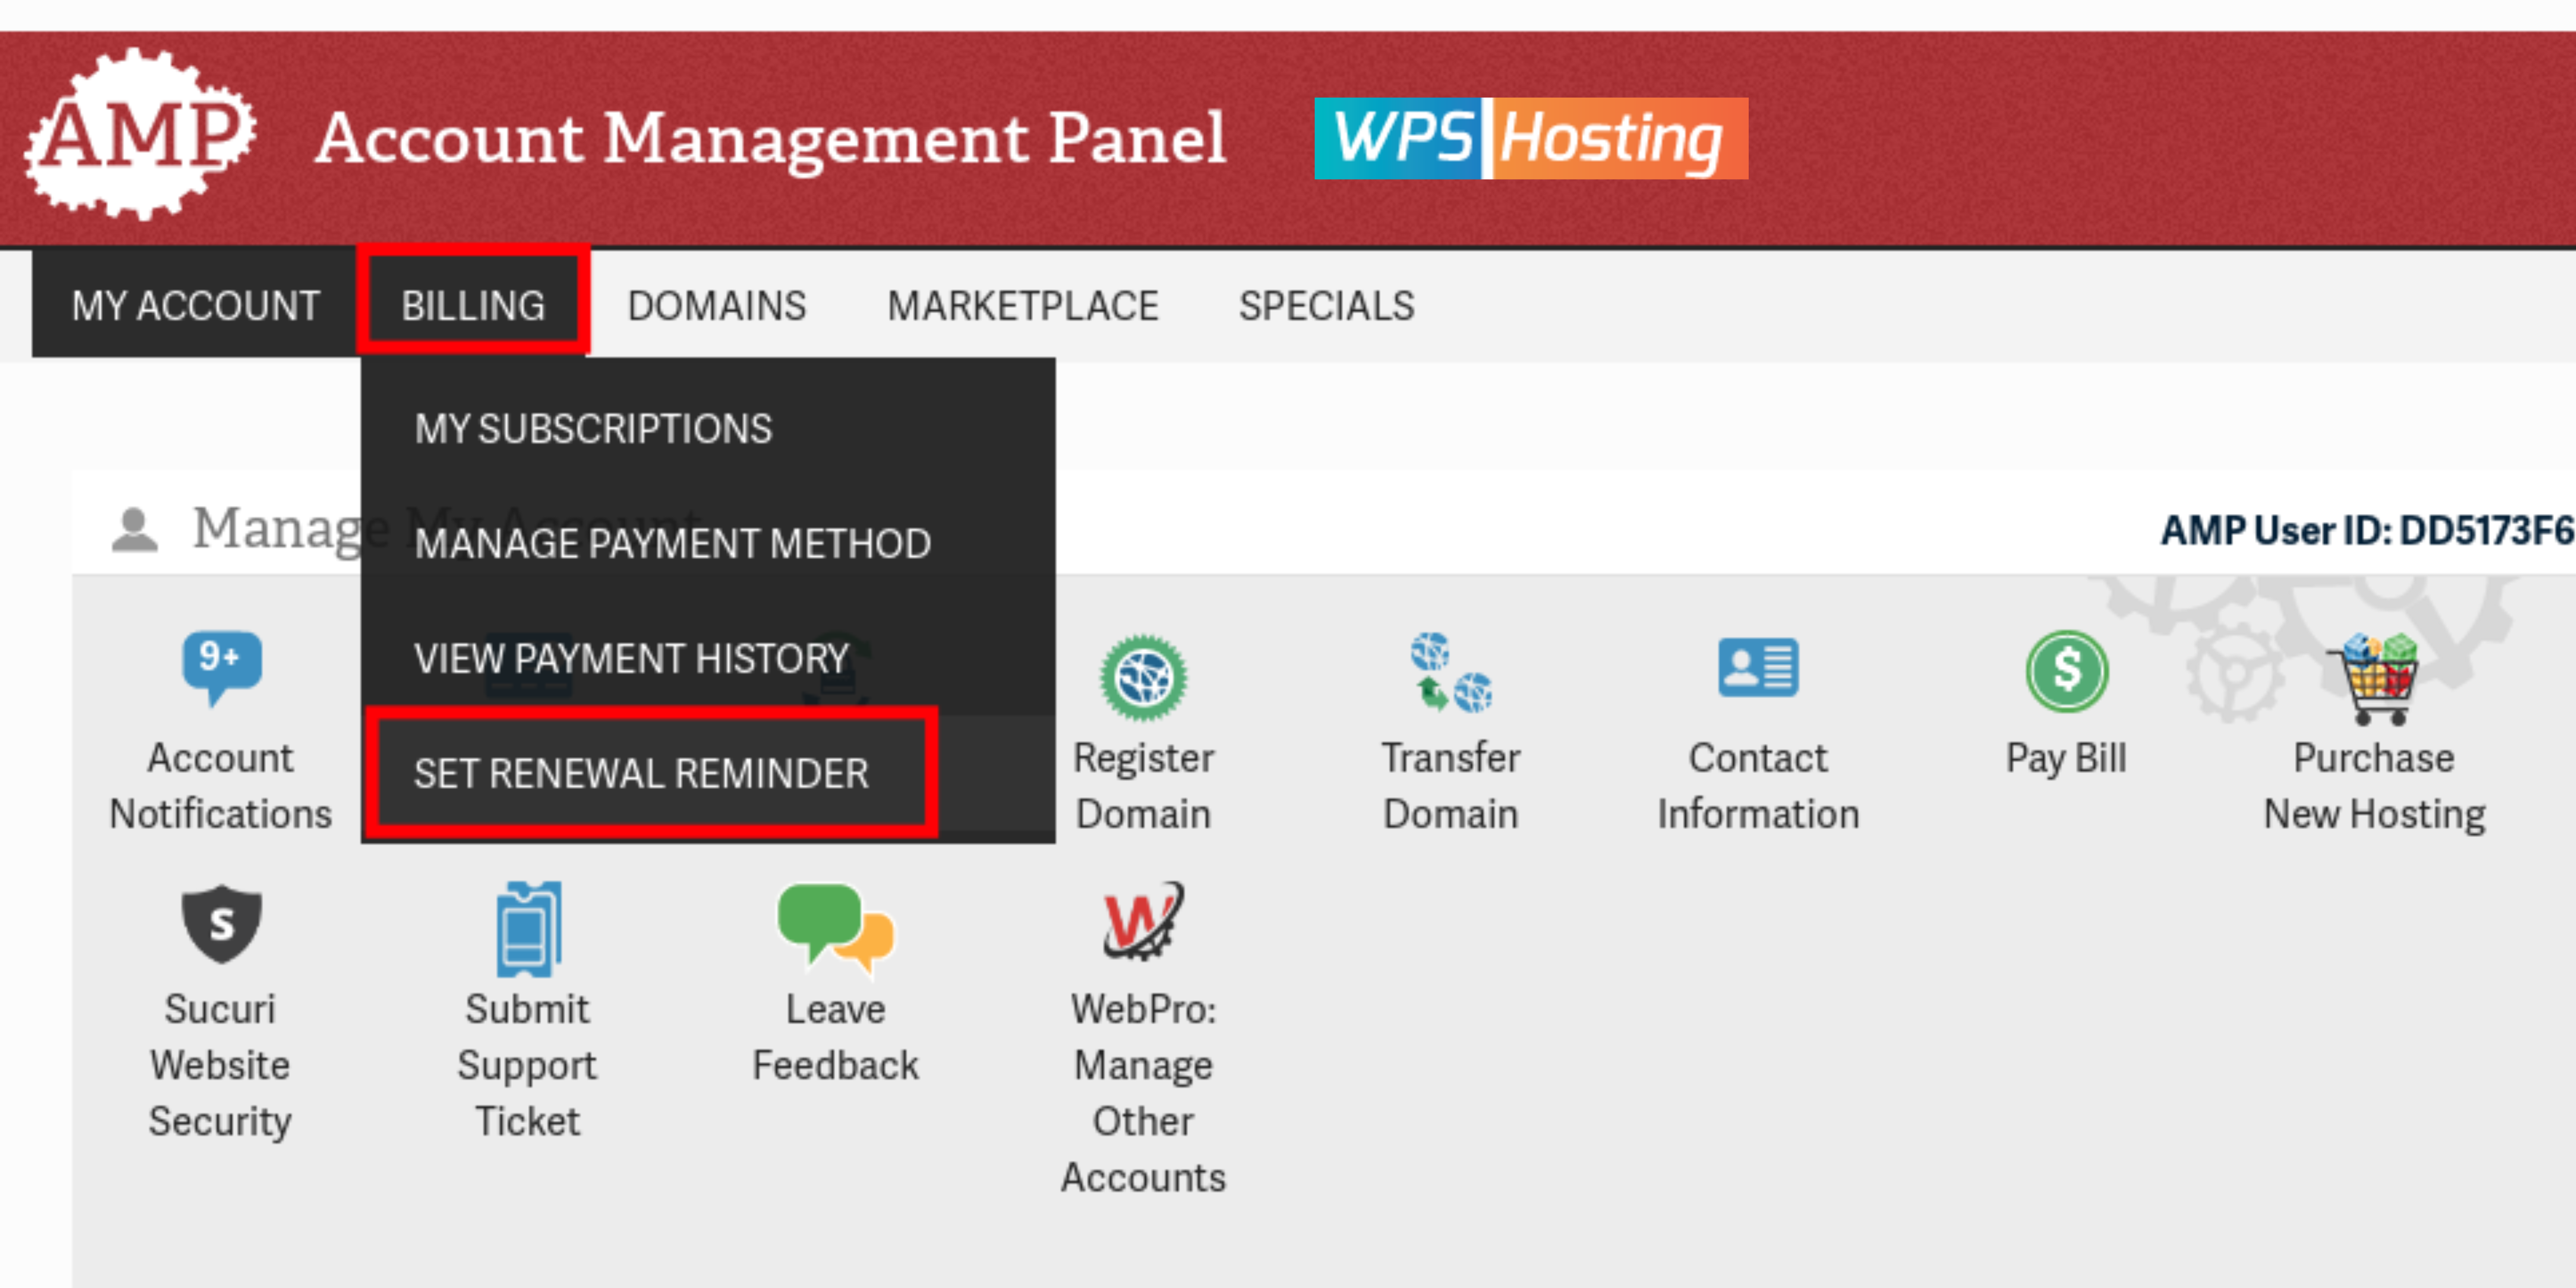
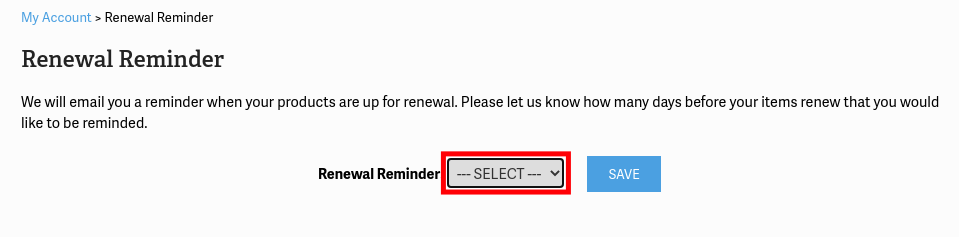
- Roll your mouse over the Billing menu, then select Set Renewal Reminder.
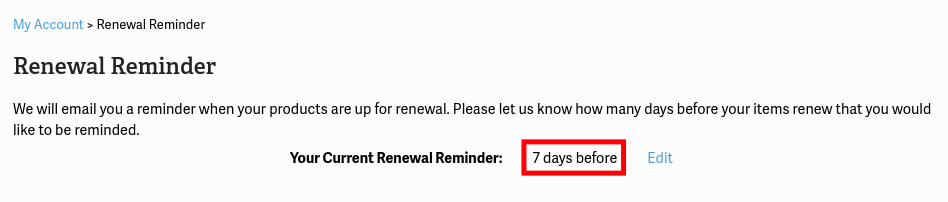
NOTE: If you have already configured a reminder, then you will see the previous selection “Your Current Renewal Reminder: ## days before“. Click on the Edit button to follow along with the next steps to change it. - From the Renewal Reminder drop-down menu, select the number of days (7, 14, 30, 60) before your renewal date that you would like to receive a reminder.
- Once you have made your selection, click on the Save button. To confirm your settings have been saved, you will then see a message similar to the following: “Your Current Renewal Reminder: ## days before“
In the next guide, we’ll show you how to Renew / Pay for your Current Plan in AMP.
